As a landscape designer I was responsible for lots of rock-edged decorative ponds, but I didn’t want one of those. I wanted something that – although it had to have a liner – looked “natural”. I wasn’t going to have fish because they eat dragonfly larvae and frog and toad eggs. Frog ponds are shallow so they really aren’t great environments for fish and besides, raccoons love to eat little pond fish, and I had raccoon visitors to my garden nearly every night. What I really wanted was to have lots more dragonflies and frogs and if we are lucky, a native turtle or two might discover it and move in!.
I had had small ponds in the past and in spite of all the hooha about needing pumps and filters and other sorts of paraphenalia and chemicals, I had done just fine with a good balance of plants in and around the water. Usually a new pond will go through a cloudy or pea soup period – but if left alone will clear up when it achieves a natural balance – and that natural balance of micro-organisms can’t be achieved if you keep “cleaning” the pond – which pumps and filters and chemicals do.
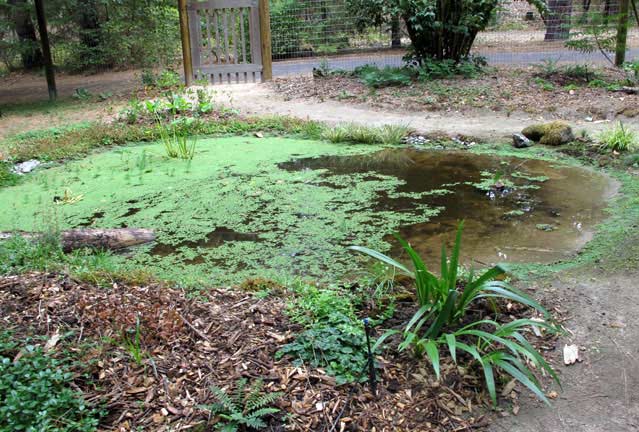
I especially wanted a much bigger water surface for growing Azolla, the floating pond plant that I feed my chickens. You can read the post I wrote about it or study more of it’s uses at the Azolla Foundation and numerous other articles online.
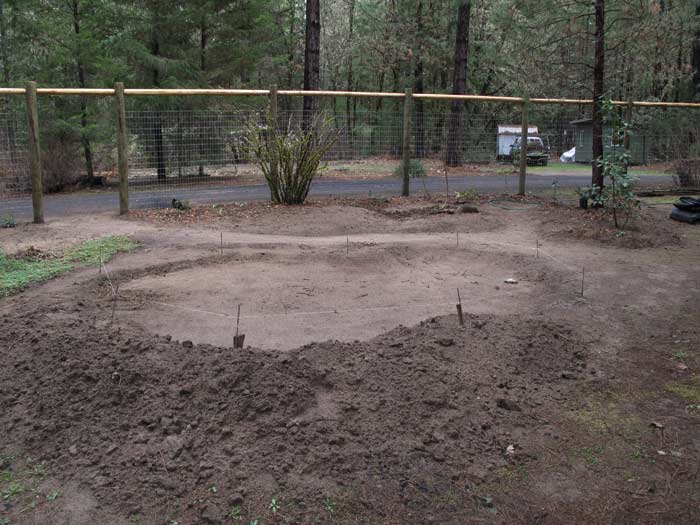
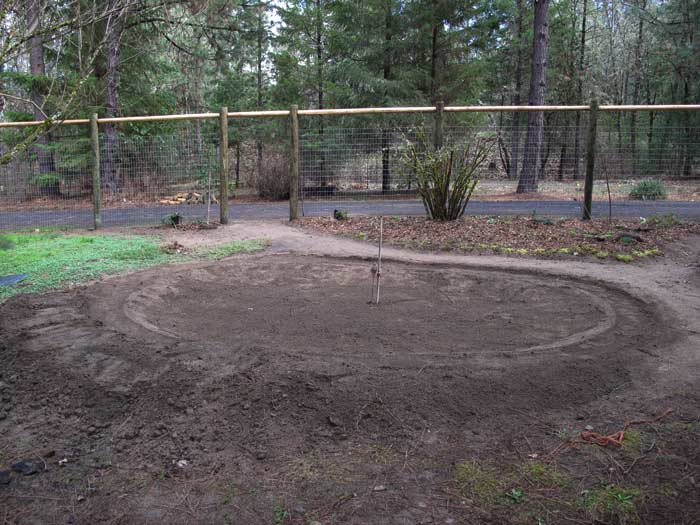
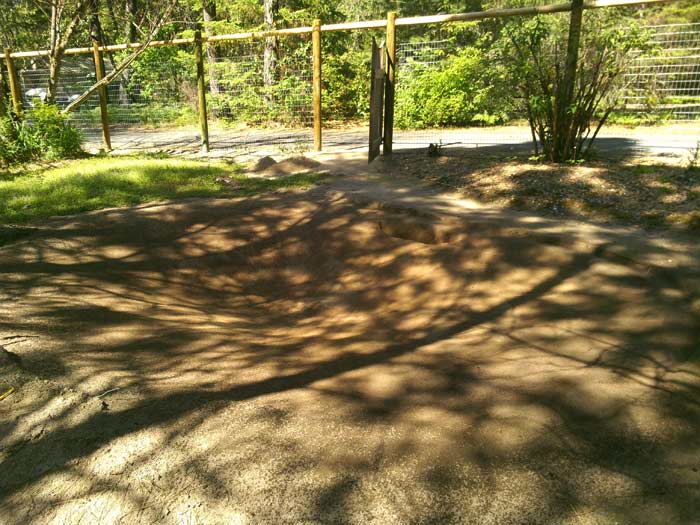
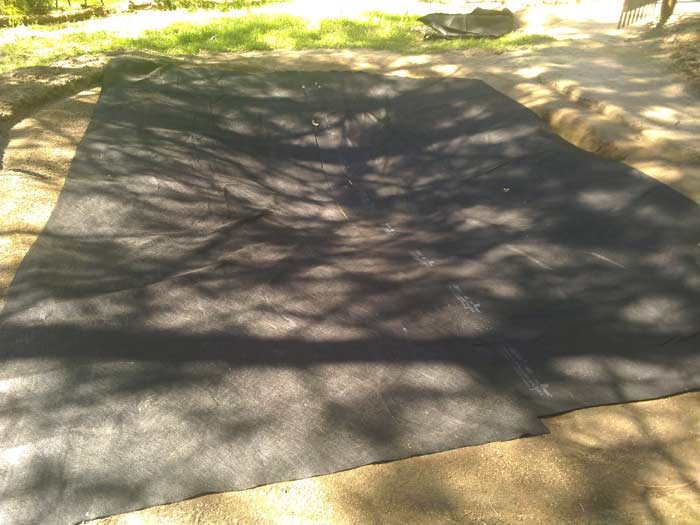
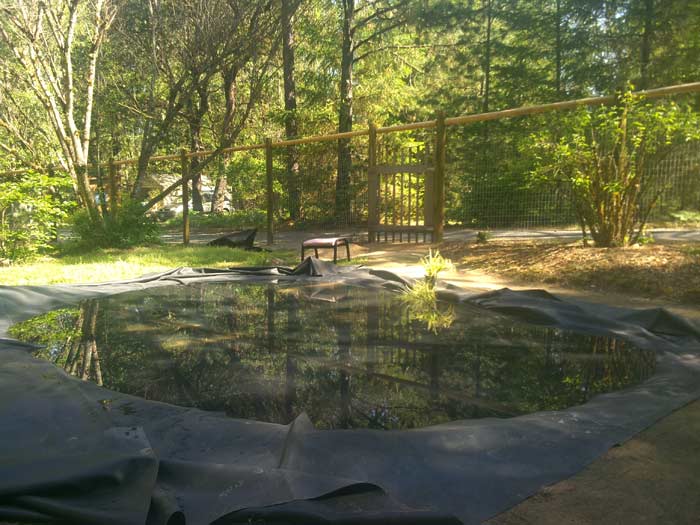
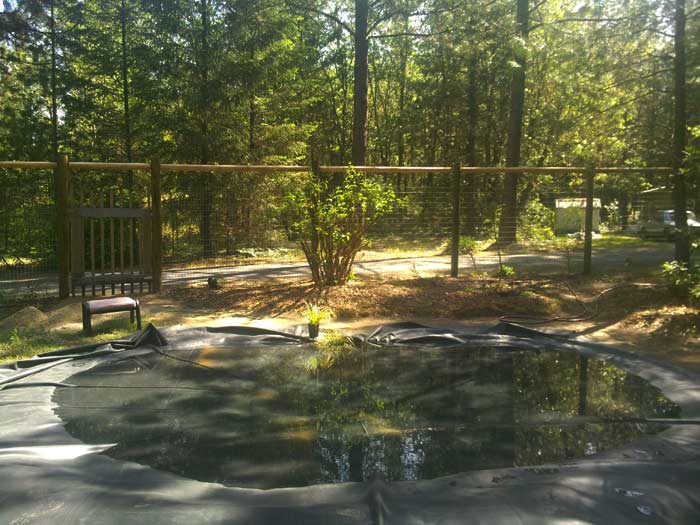
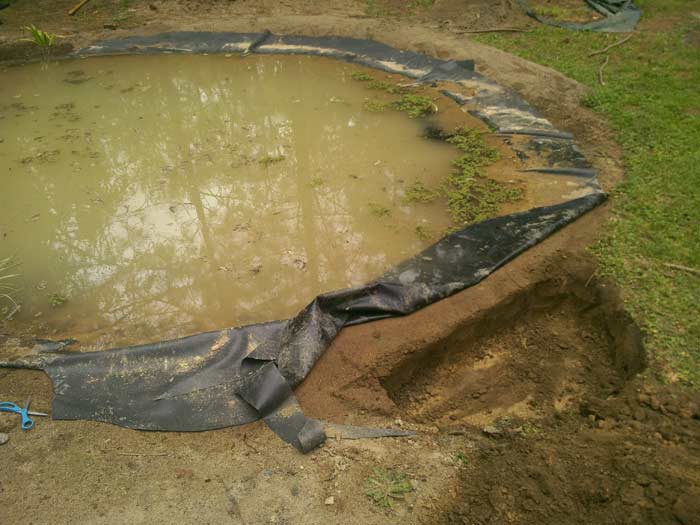
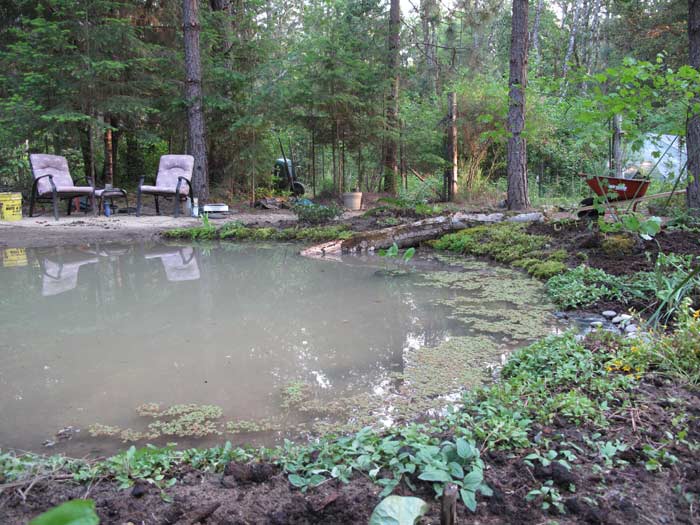
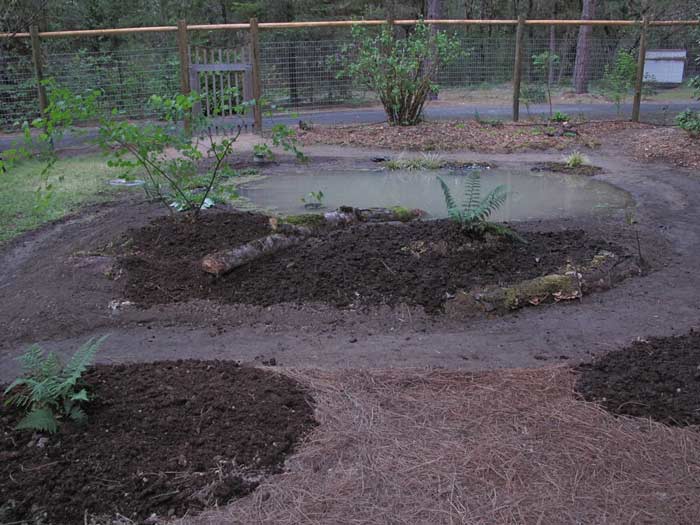
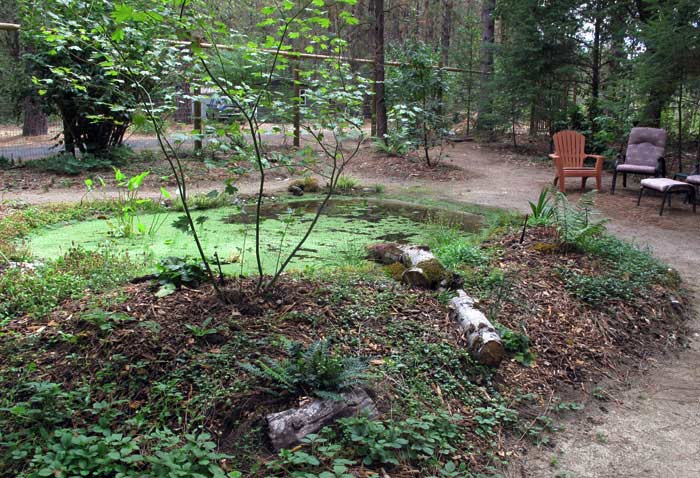
I also didn’t want the edge lined with rocks, because it wouldn’t look natural in my setting. I figured that if worse came to worse we could add rocks if we had to, but I decided to give it a try without, and so late last winter we laid it out and Bryon began the digging process. The place I had been visualizing the pond for the last 7 years is perfect because it’s a bare area that is too shaded for growing fruit or veggies but far enough from roots and overhanging branches of the bordering trees to avoid dropping leaves and needles. It gets SOME sun, which is good, but not so much that it encourages algea growth. The biggest challenge in building it was that the land isn’t level there.
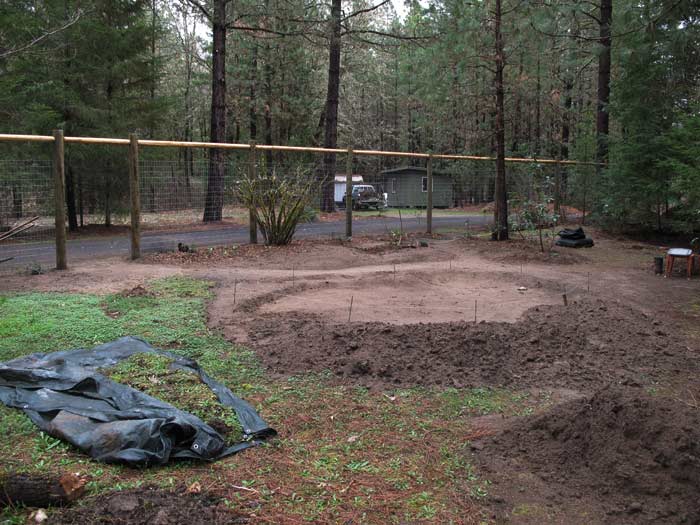
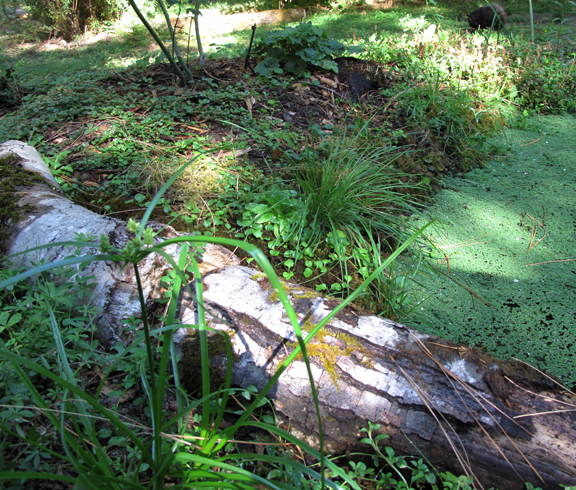
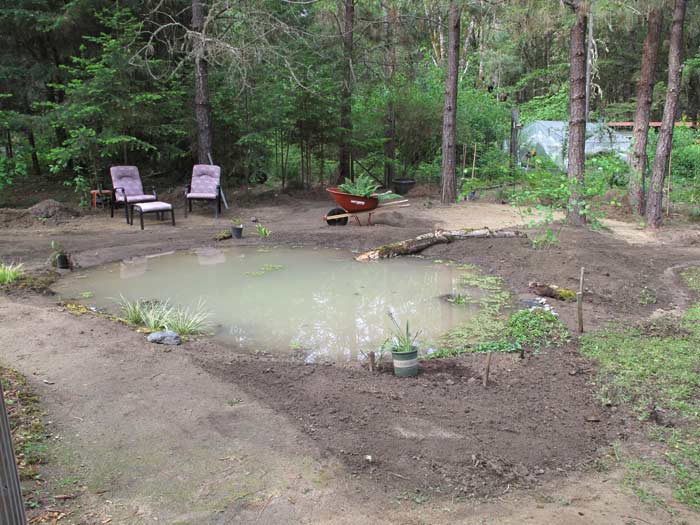
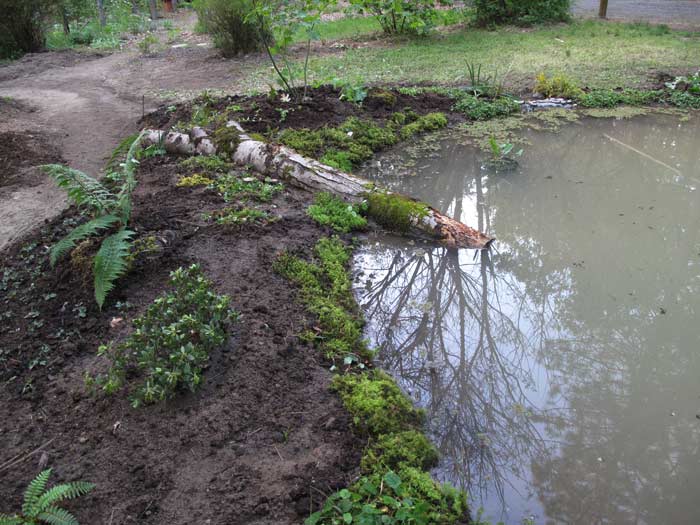
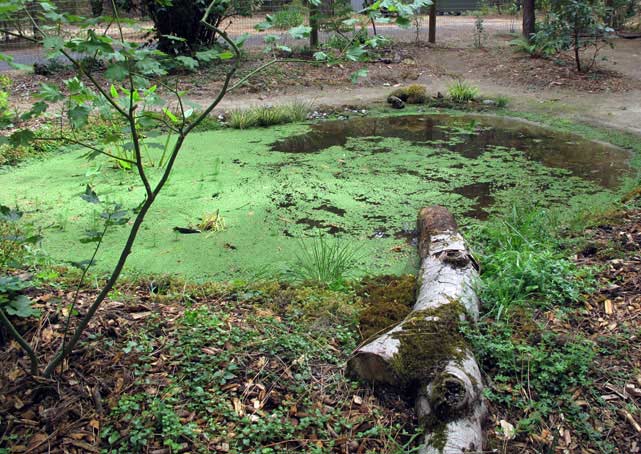
The finished pond is about 13 feet x 21 feet and the deepest part is only 18 inches deep. It took some careful planning and working constantly with a level to create it on that slope so that it looked “natural” in the end, and Bryon was really responsible for pulling that off. One whole side is a long gentle “hugel” mound created using logs and the topsoil from the pond area. The high side he cut down and created a pathway that runs along the edge.
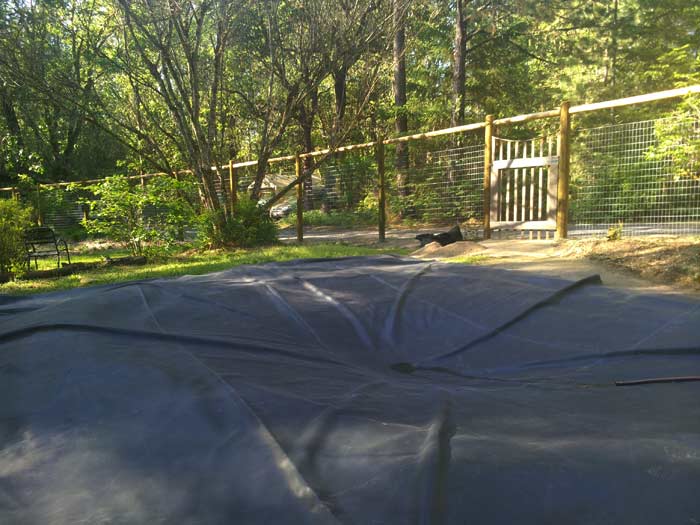
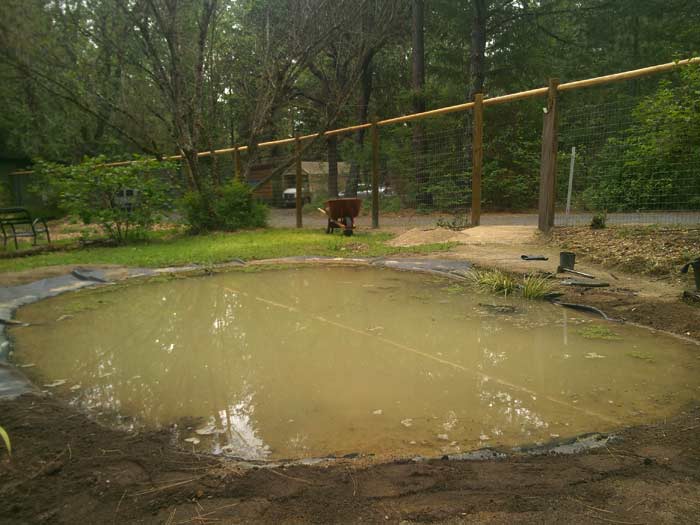
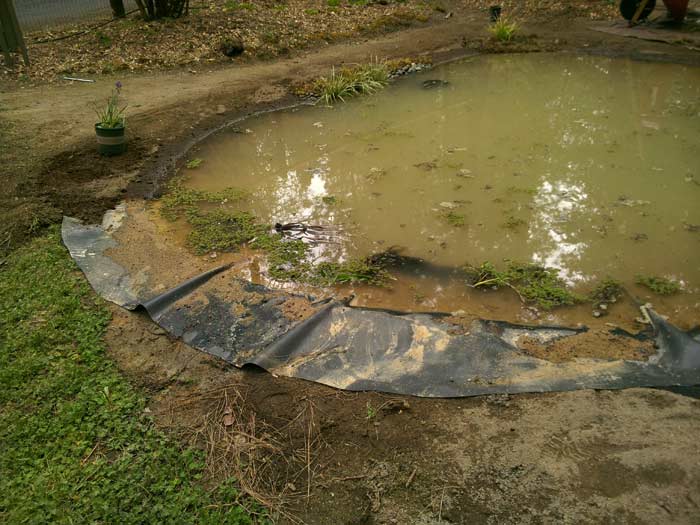
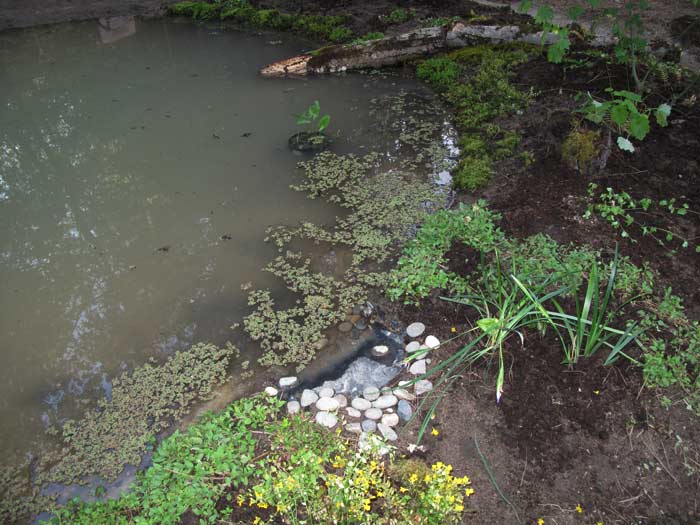
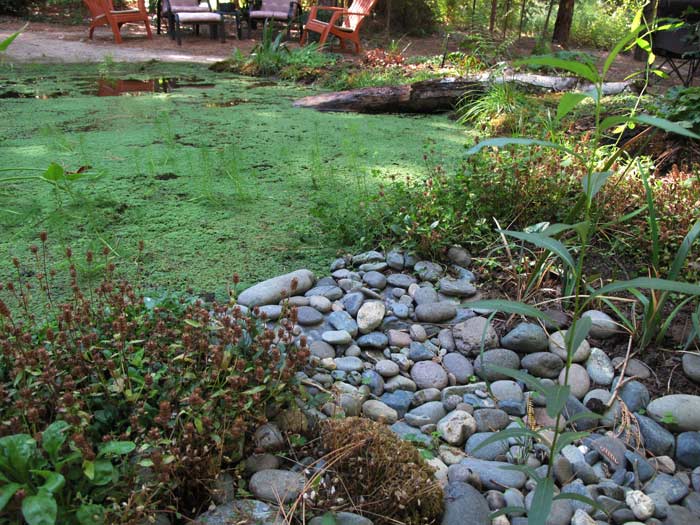
Because it will get runoff from the driveway during winter rains, an overflow had to be planned in as well as an “in-flow”.
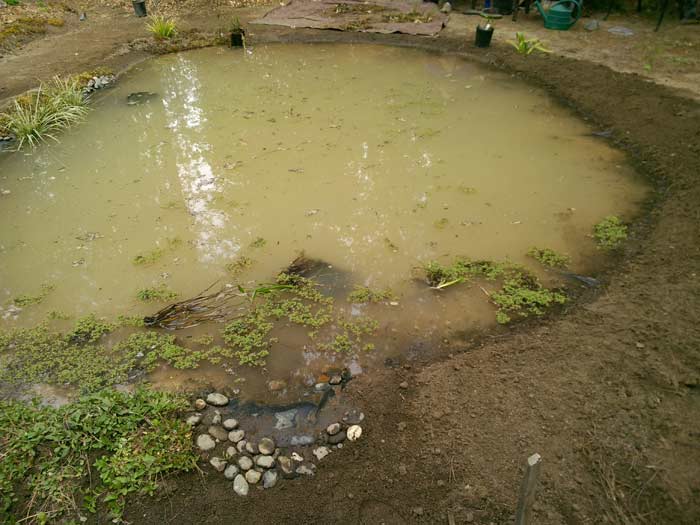
We DID use rounded river rock for these two areas – to keep the soil from washing in a heavy rain. We are working on directing the overflow into a nearby swale surrounded by another large hugelkultur berm and from there into the annual vegetable garden area.
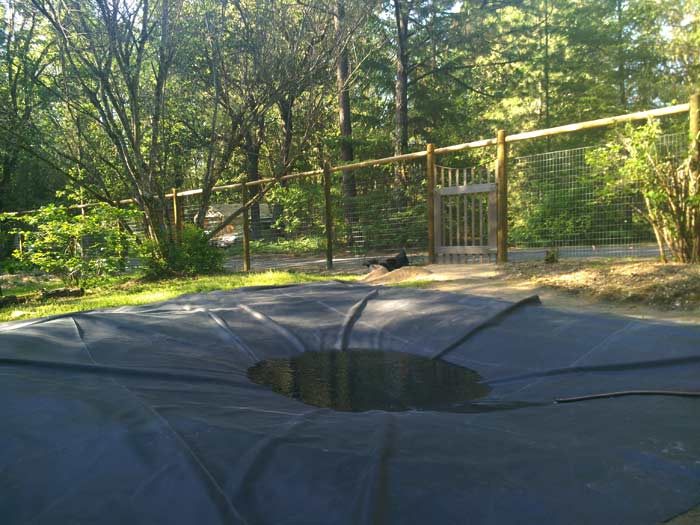
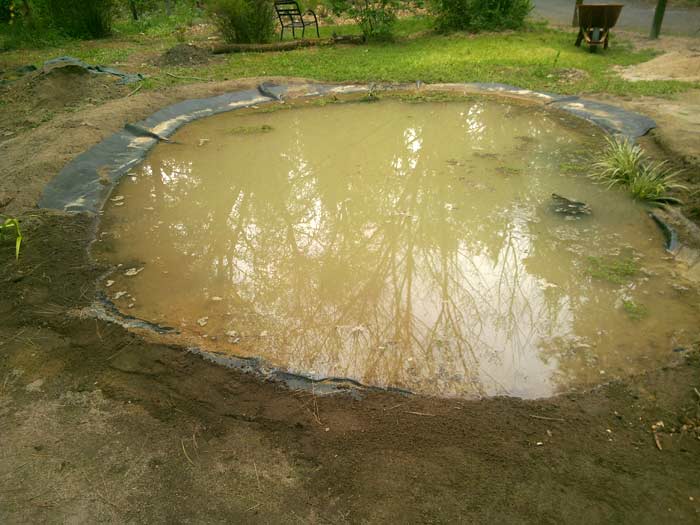
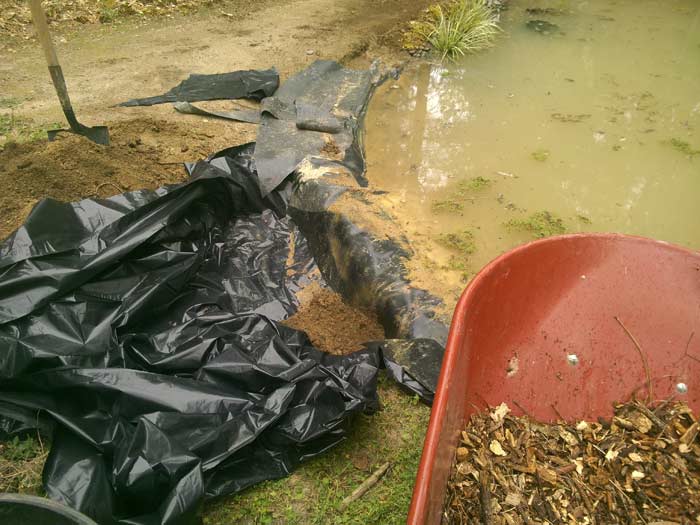
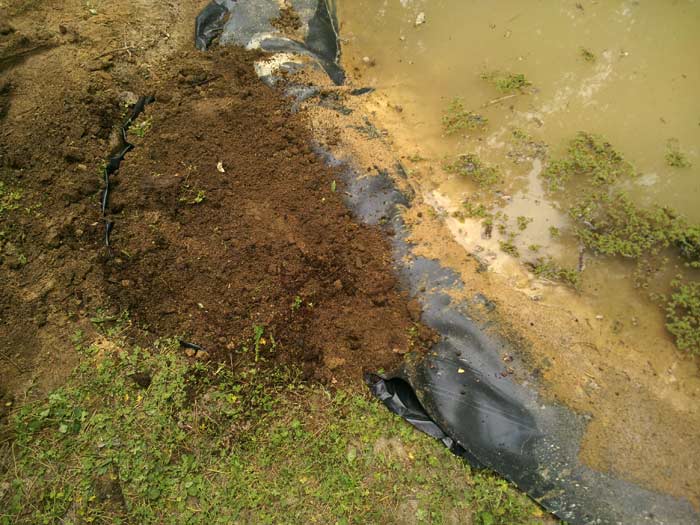
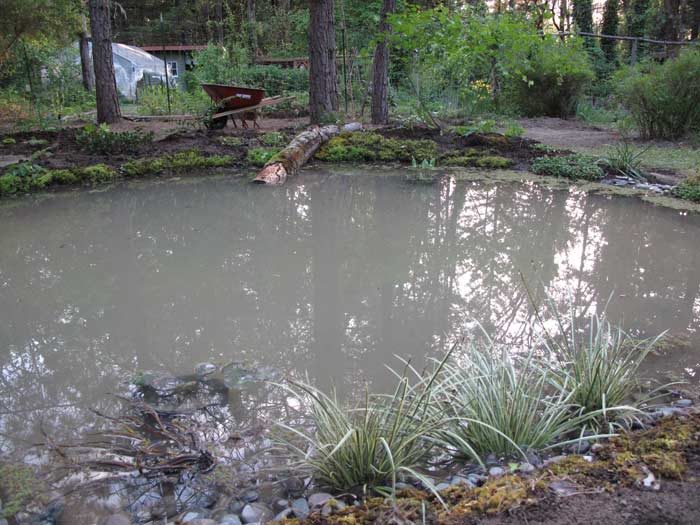
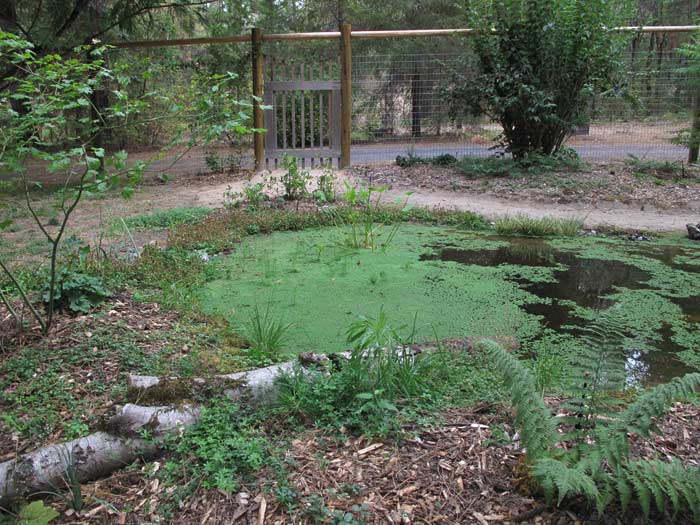
We saved some of the soil from the pond excavation to put back into the pond after the liner was installed. We spread an inch or two of mostly subsoil over the whole liner, because it wouldn’t be as likely to have lots of nutrients that would encourage algea growth. The one drawback was that it had a fair amount of clay in it, and the superfine particles hung suspended in the water for several weeks making it very cloudy. I wondered for a while if the water would EVER clear – but it finally did! It has been clear ever since. I spread river sand over the soil on the shallow “beach” end of the pond, which I think helps keep the water clear when the raccoons wander in and out.


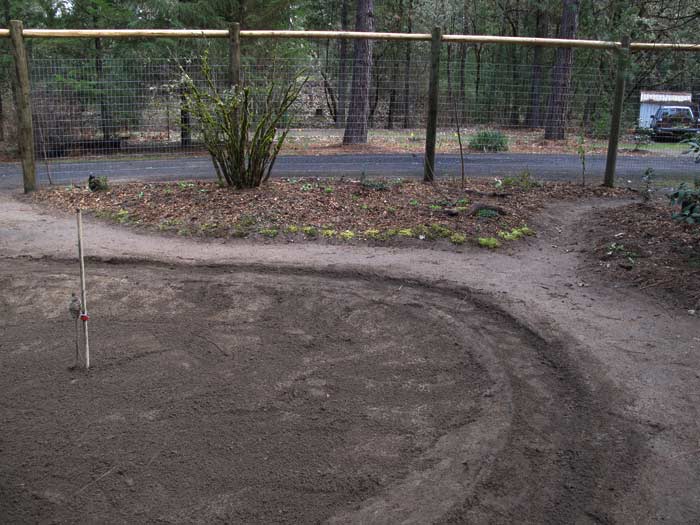
Then I finally got to do the fun part – adding plants! I decided to plant the area surrounding the pond with mostly native plants, because ultimately it would be much less work for me – and because it would make it much more attractive to native creatures and truly BE a much more “natural” environment. It will also survive our dry summers with less irrigation than the rest of the garden.
Most of the plants were dug from our own property and some came from the property of friends nearby. I also bought a few plants grown by a local native plant nursery. It took a fair amount of care and water this summer to keep it all alive because the plants were dug in March and April instead of in the fall or winter, and because we had such a hot dry spring and summer. With very few exceptions everything is doing well.
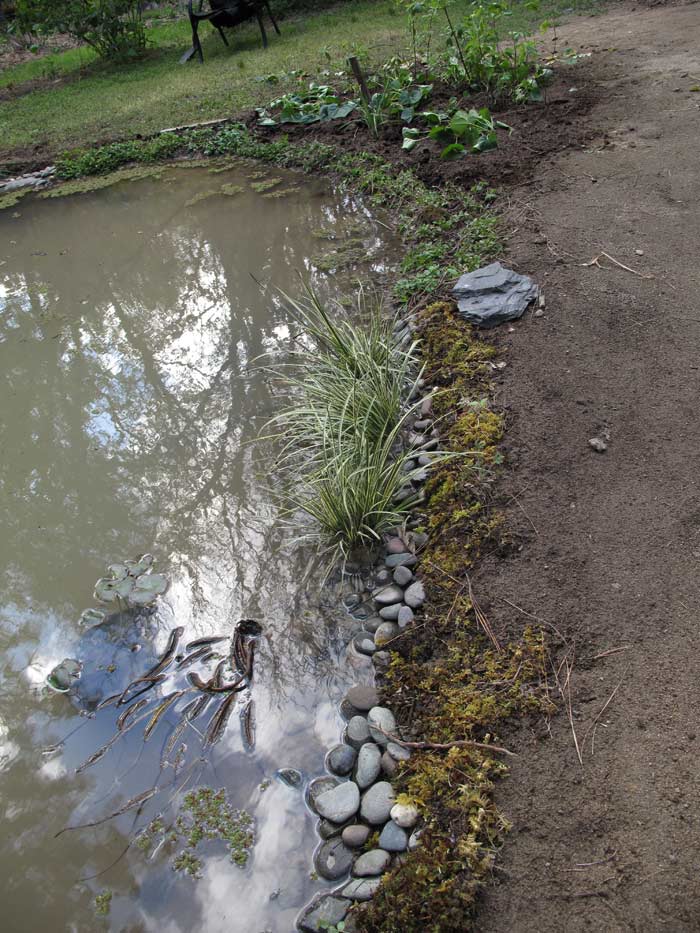
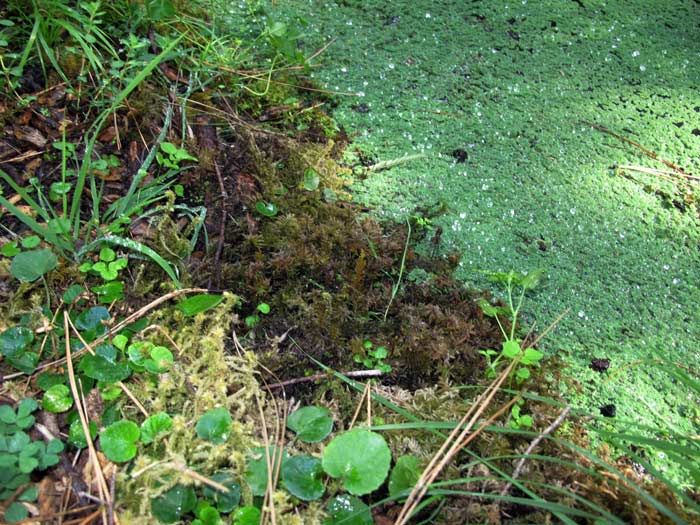
The first thing I did was collect moss from the woods and patches of Self-heal (Prunella vulgaris) that has volunteered here and there in the garden, because I knew it would be happy in the damp environment of a pond edge. It’s a dense low growing, perennial, mostly evergreen, ground cover with pretty lavender blue flowers in summer. As the common name implies, it was once a popular medicinal herb – so in my book that made it even more welcome in my garden. It’s not difficult to get rid of in places that I really don’t want it. That’s an important criteria for me. If a “volunteer” puts down deep tap roots or in some ways makes itself really hard to remove from a place I don’t want it – it may not find me a very welcoming hostess. I bordered about a third of the pond with self-heal and most of the berm edge with moss. The soil along the beach edge is slowly growing moss on its own and a bit of grass which I may or may not leave.
The raccoons showed me that planting my “in-the-pond” plants in big cut off black plastic pots wasn’t the way to go, by unearthing my skunk cabbage looking for worms and finally a week ago dumping my beautiful arrowhead plants right upside down! Because it was so much bigger to begin with, I planted a pickeral weed in the bottom section of a big woven plastic grain bag. I’m going to replant the other two plants that way with lots of river rock on the bottom for weight and on the top for protection. Maybe that will make them too heavy to drag around and dump… I hope. Raccoons are strong and clever and not easily deterred from something they want to do! Although they can be frustrating to garden with, I think they just may be what is keeping the population of slugs and cabbage worms down. I figure it’s up to me to find ways to garden WITH them.
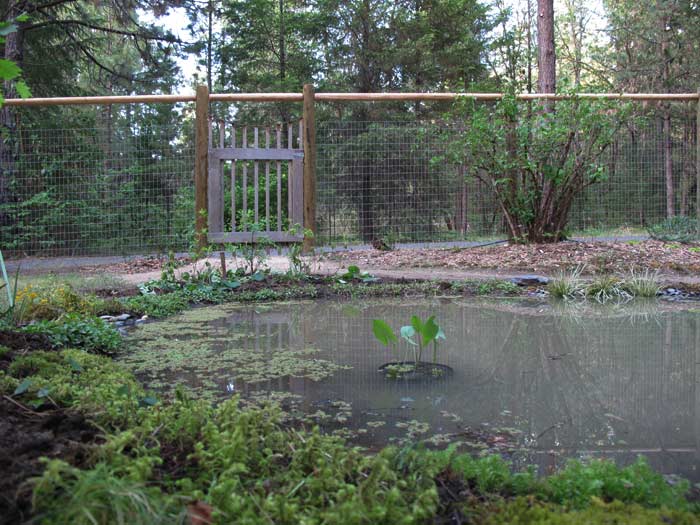
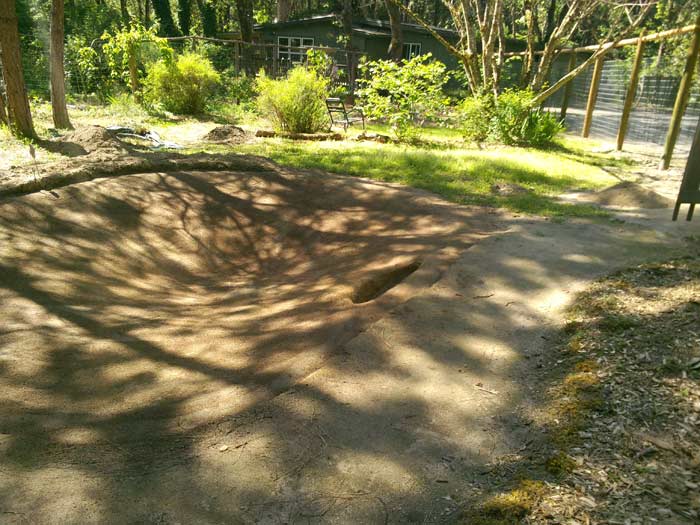
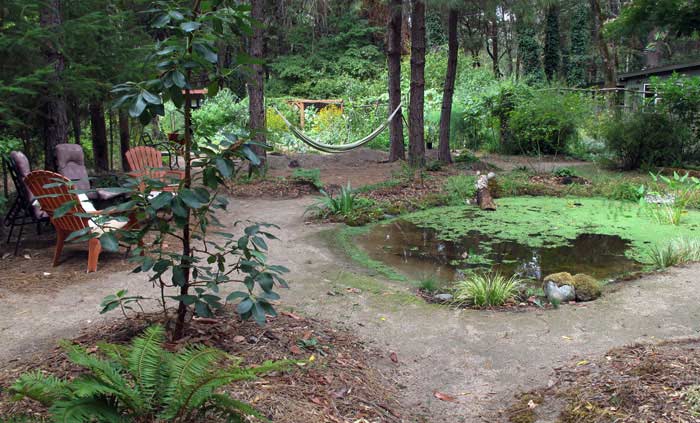
Here it is 6 months later and the pond has truly become the center of activity – and non-activity – here. It attracts humans just like it does raccoons, dragonflies and frogs! Everyone seems as enchanted by it as I am, so it’s not only a useful, functional part of my garden, but a lovely bit of “soul food” as well.

Helloooo.. Thats a very beautifully planned pond.. Loved it.. 👍😊
LikeLike
Thank you so much… It’s lovely sharing across the world isn’t it? 🙂 You have a lovely blog and I enjoy getting a taste of Indian culture now and then…
LikeLiked by 1 person
Ahh.. M glad you liked it..loved your step by step pics and the way the pond has evolved.. Looking forward to more.. 👍😊😊
LikeLike
I look forward watching it’s evolution too…
LikeLike